Here are the instructions for making paper roses. In the pictures I am using the black magic paper so you can easily see the front and back of the paper. I have used both paper and grungepaper to make these and both have come out absolutely fabulous!
First cut out three of the same sized flower. Any six petal flower will work.
Here is what you should have to get started:
Your three flowers cut as shown.
Liquid adhesive - I use Glossy Accents because it dries quickly or you could use hot glue (a little messy for my taste - but works good)
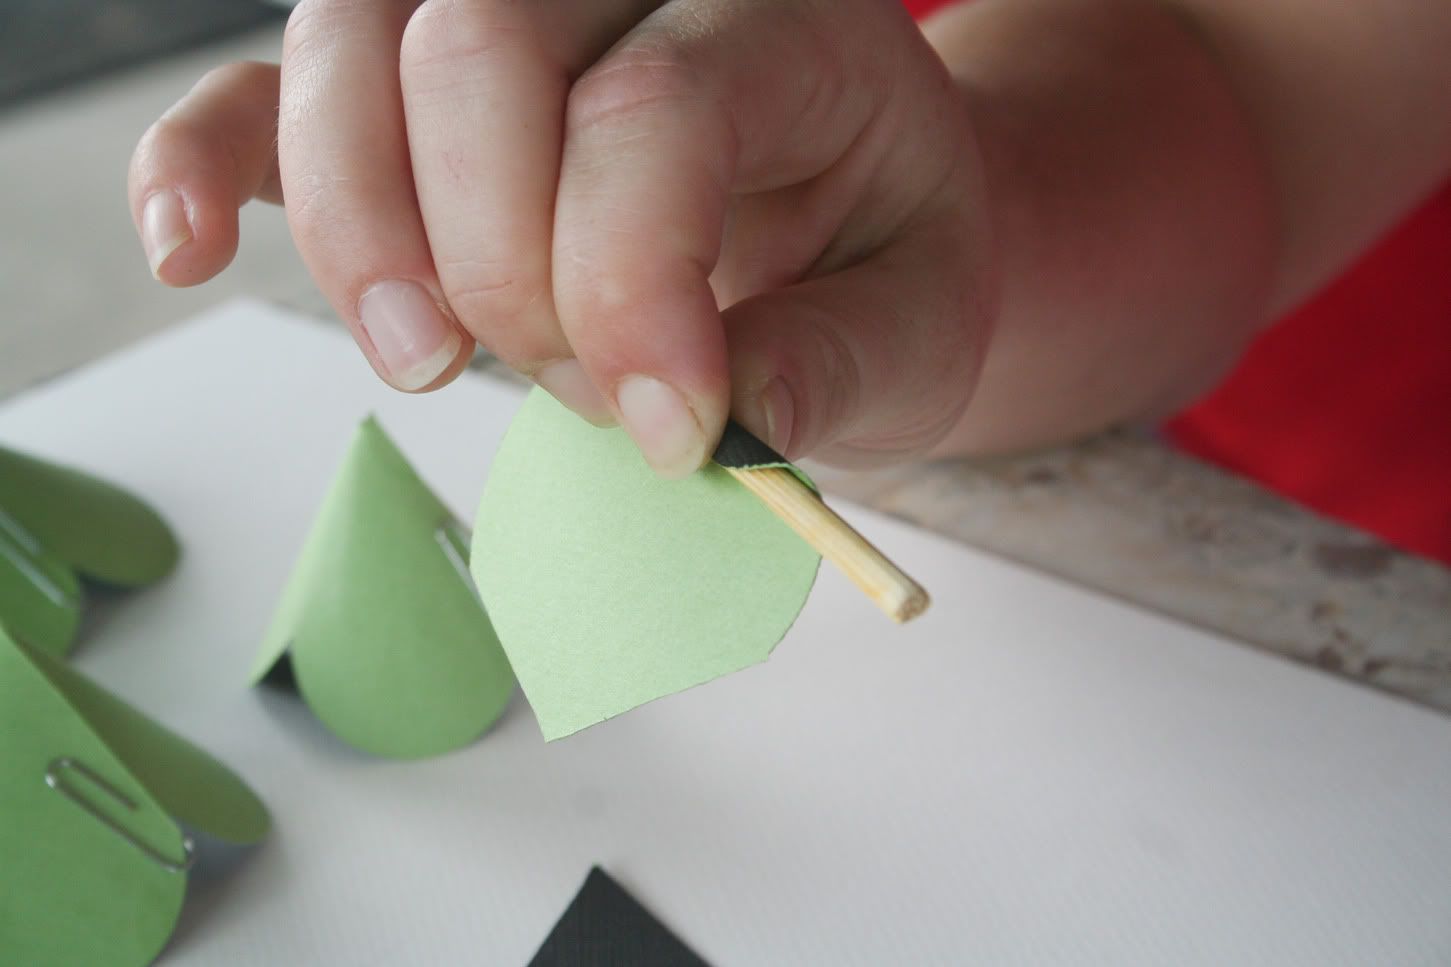
A small stick - I use a wooden skewer that I bought in a pack of 100 from the local grocery store.
Small paper clips
Scissors
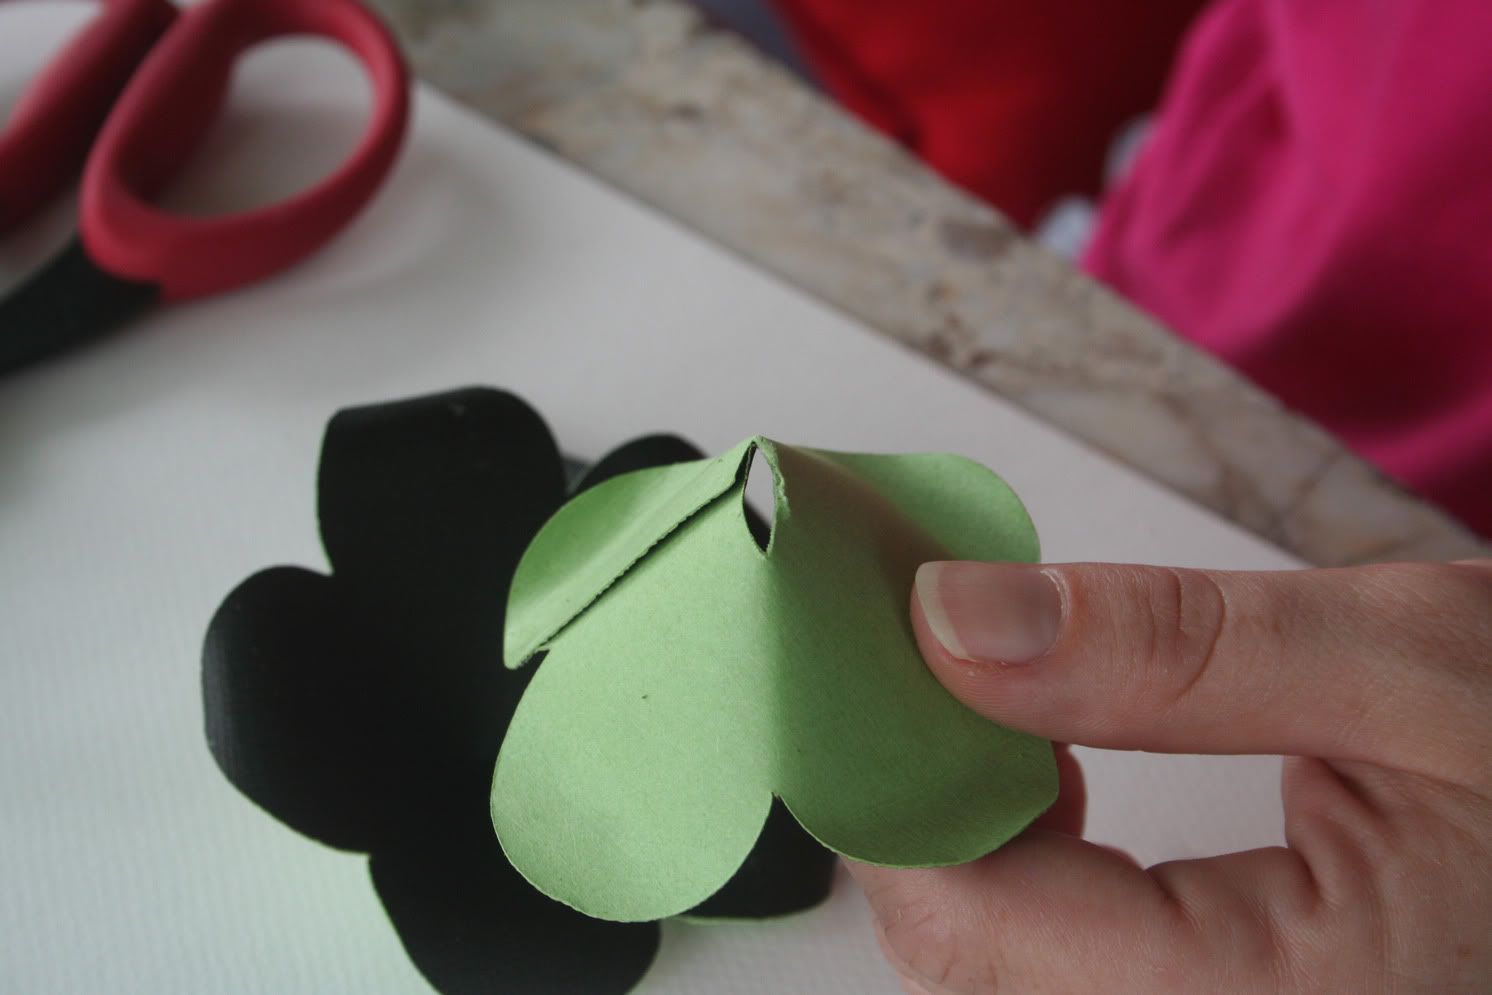
Cut a line in one flower to the center.
Cut two lines on either side of one petal to the center of the flower to remove one petal from the second flower.
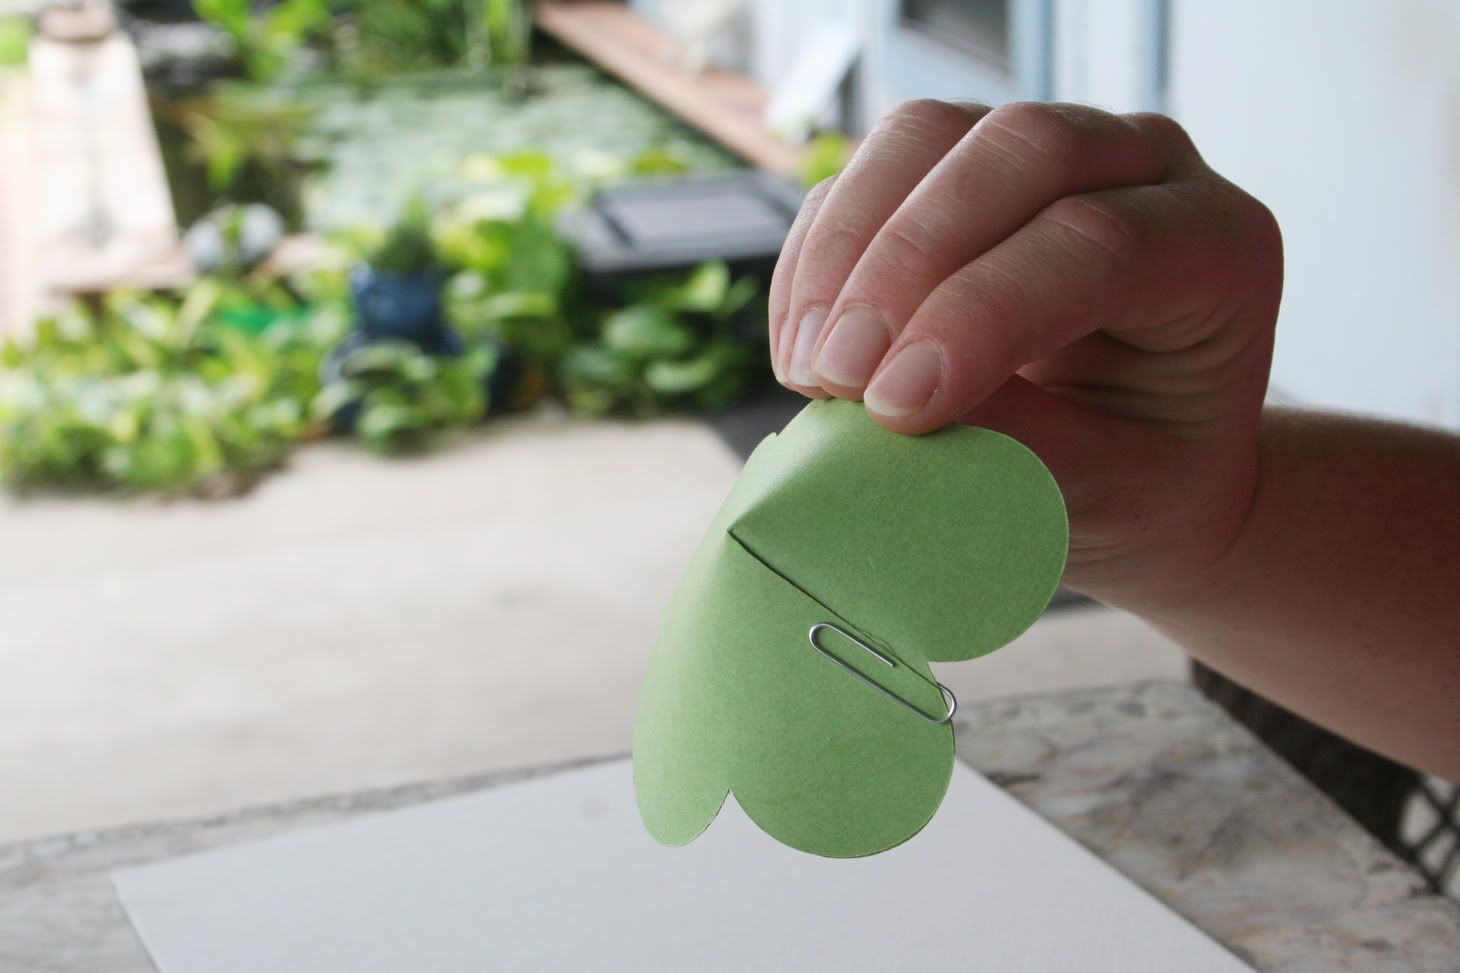
Cut two lines on either side of two petals to the center of the flower to remove two petals (heart shape) from the third flower.
(See picture below)
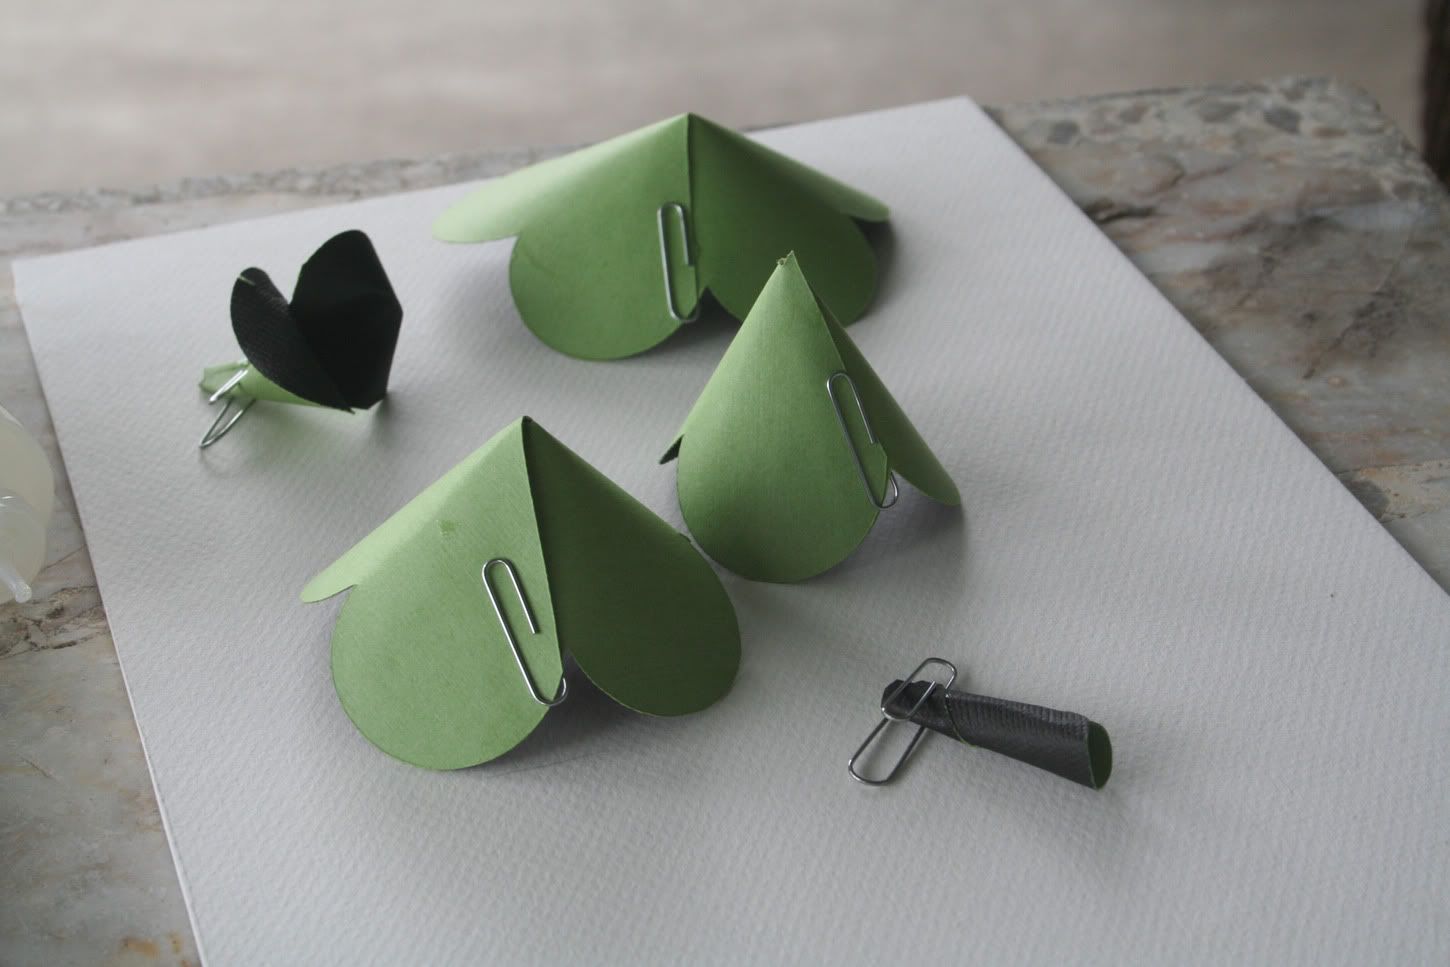
Take the flower that does not have any pieces cut out of it and overlap the petals at either side of the cut line. Glue the petals together and use a paper clip to hold it in place.
Using the flower with the single petal removed and overlap the petals. Adhere the petals with liquid adhesive and use a paper clip to hold it in place.
Take the final flower that has two petals cut out of it and adhere the petals together. Use a paper clip to hold the petals in place.
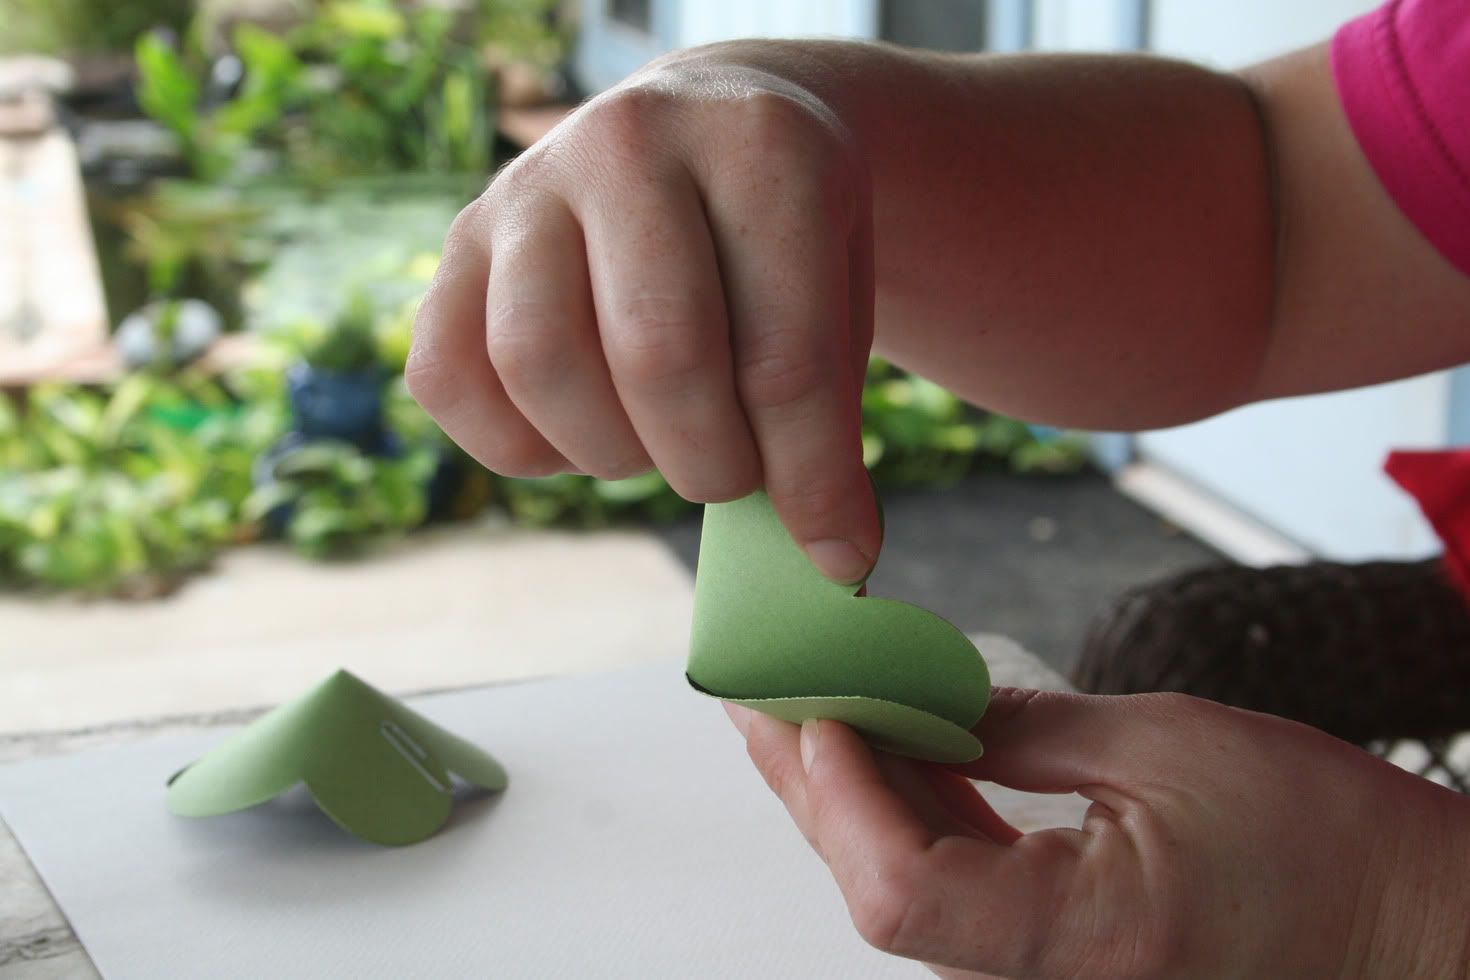
Now take the heart shaped cut out and use your stick to curl the petals.
Here is what it looks like when you have curled both sides:
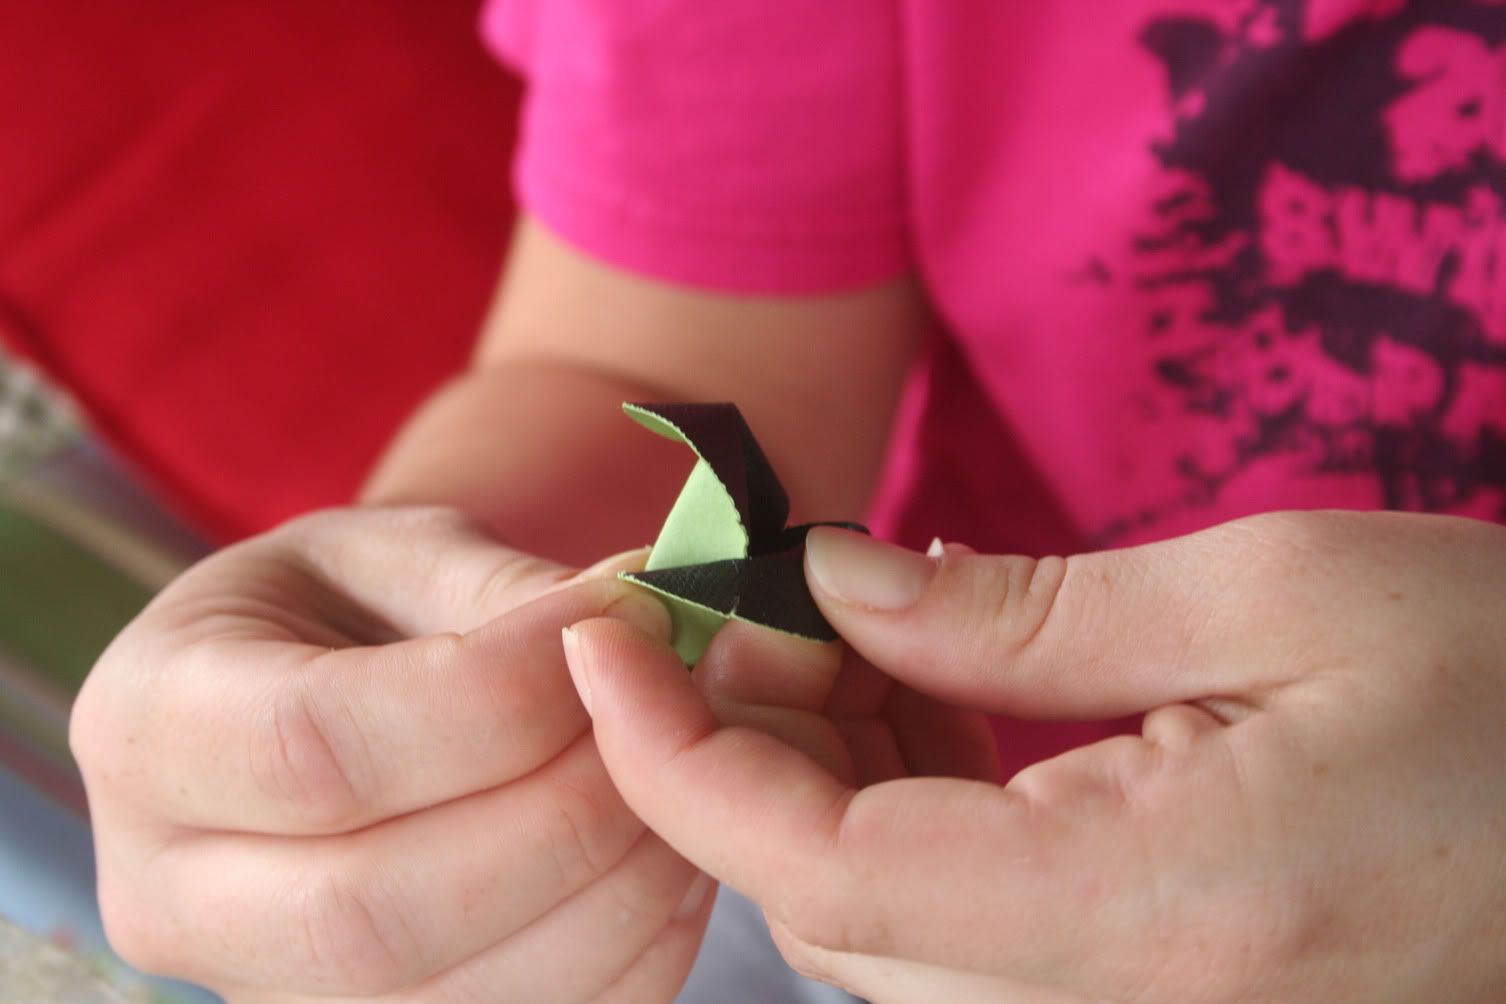
Take one of the petals and pinch it in half with your fingers. Here's a pic:
Roll the pinched petal around the other petal. Take your time with this because the paper will tear if you roll it to tight. Glue it and use a paper clip to hold it together while the glue dries.
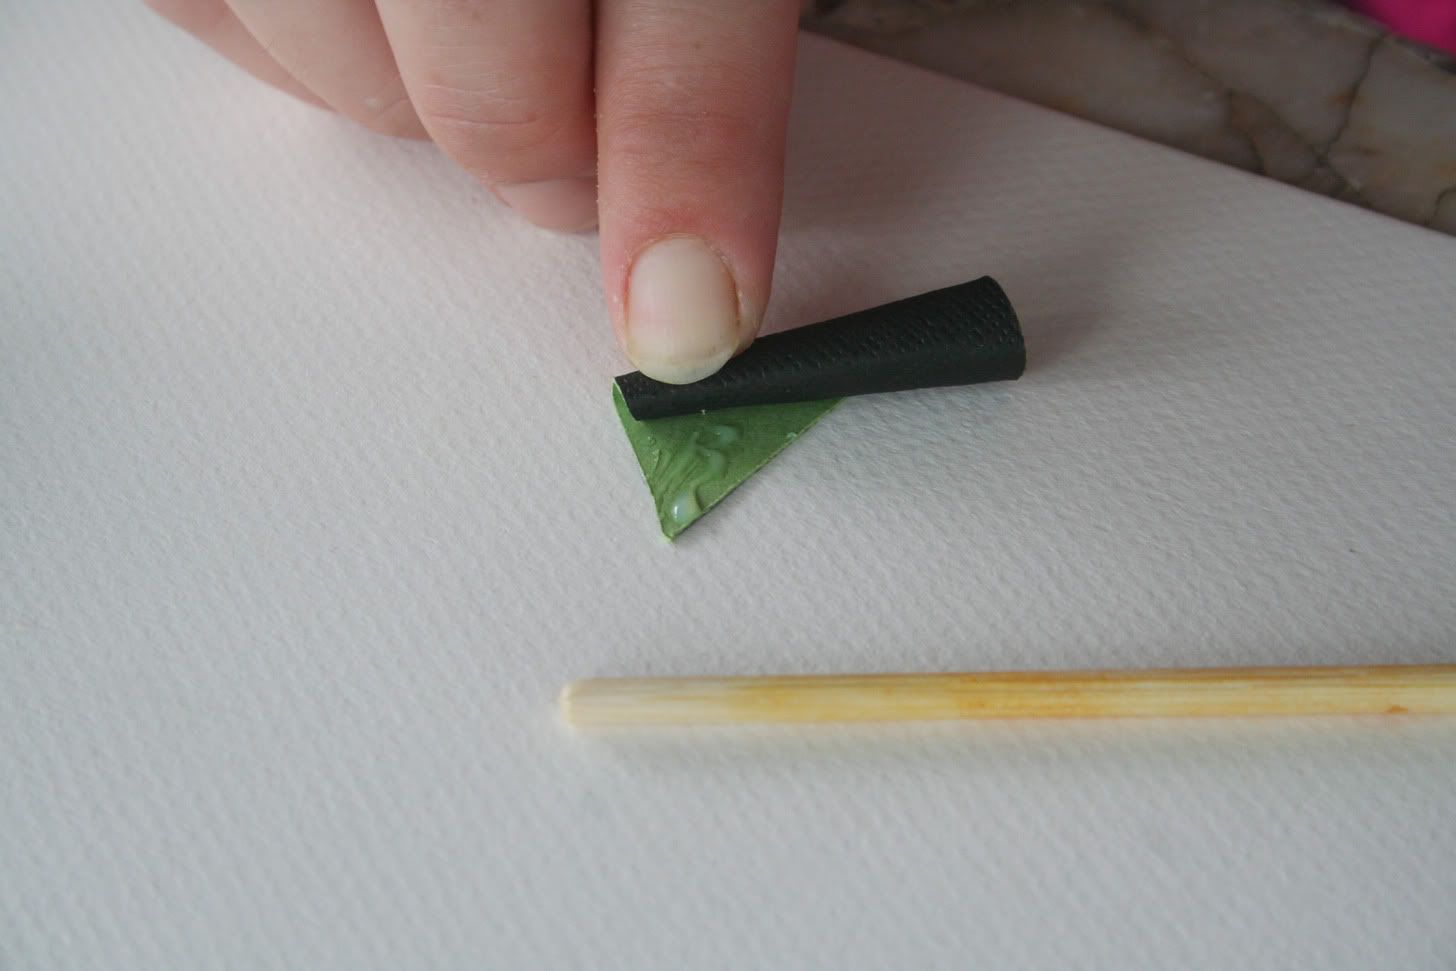
For the single petal, startine at the wide side of the petal roll the petal horizontally towards the small tip of the petal. Place a little glue on the small tip and use a paper clip to hold it together.
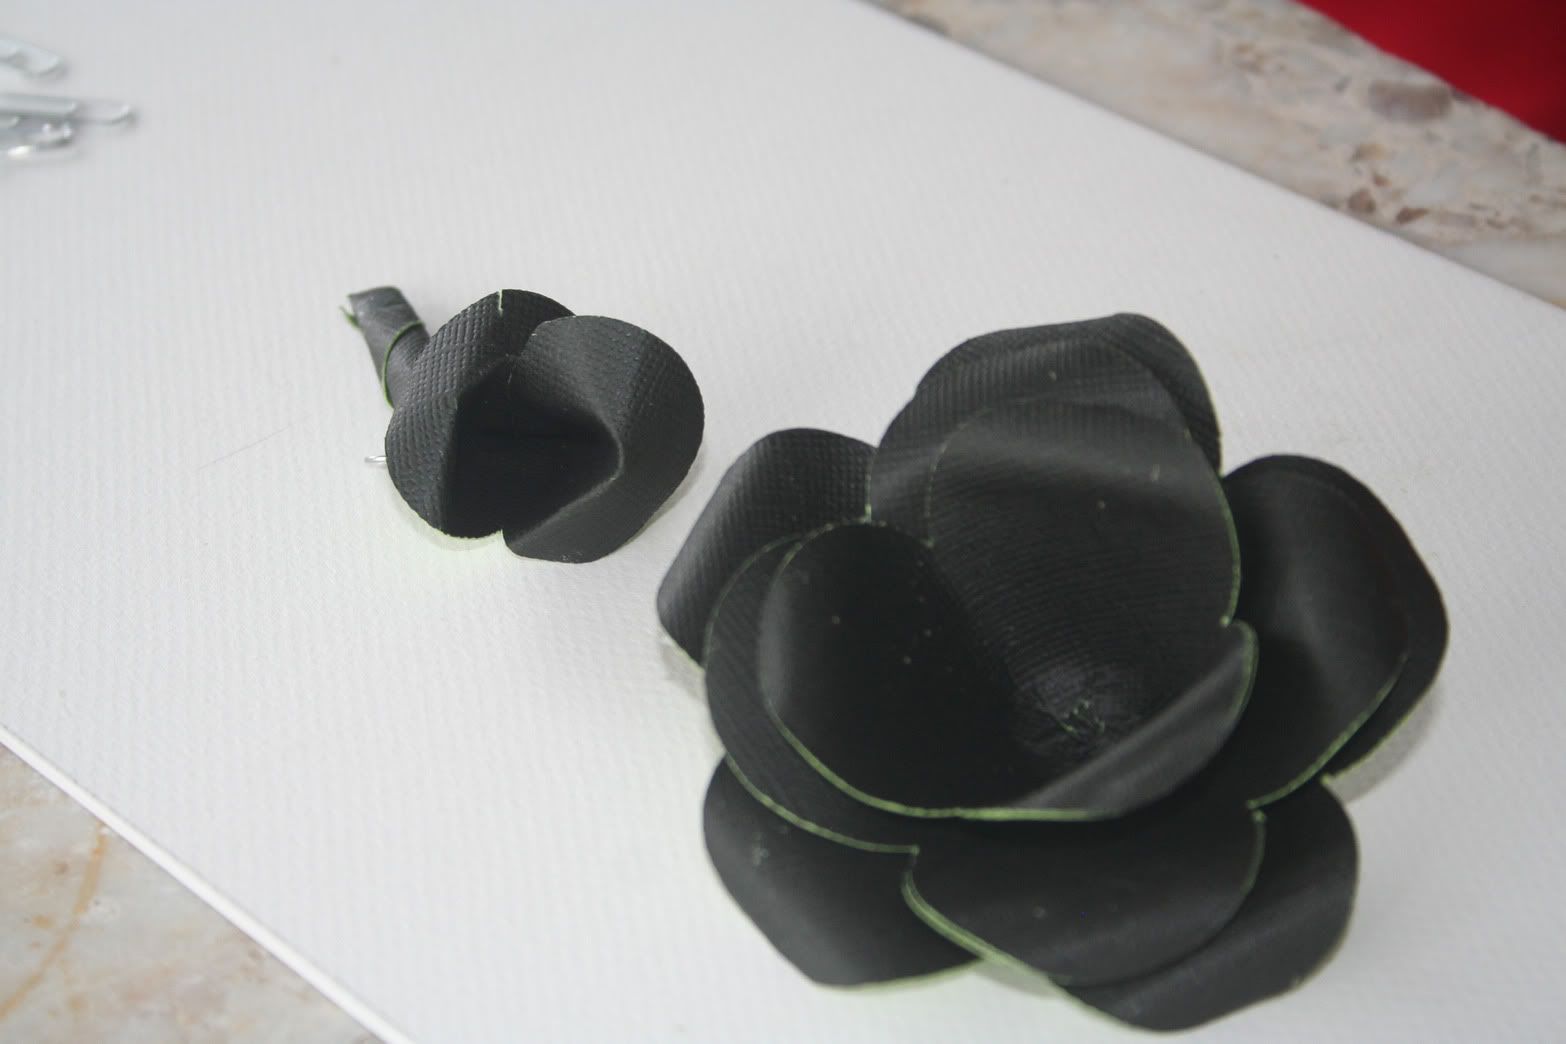
That's the hard part! You are almost done. Here is what everything should look like:
By now, the glue should have dried on the large flowers so remove the paper clips. Using your stick, curl all of the petals. The largest flower will be the base of the rose. Place the middle flower into the largest flower. Trim the base of the middle flower slightly so that it will sit inside the large flower without being to tall.
Glue the middle flower into the large flower.
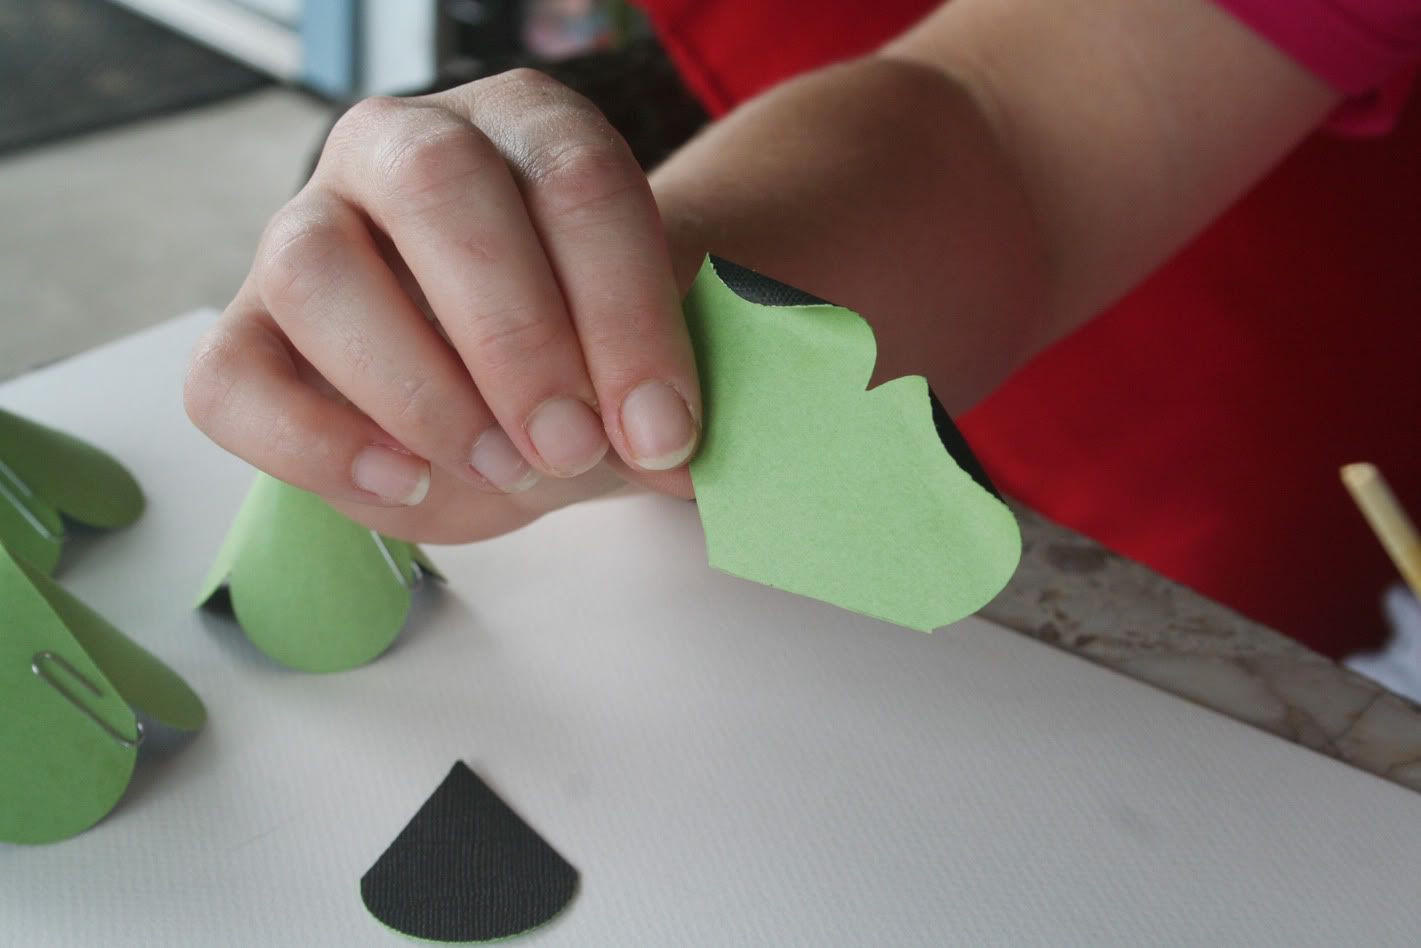
Trim the smallest flower as needed and glue the smallest flower into the middle flower.
Trim the next largest piece and glue into the center of the flower. I usually stick my finger into the center and hold it for about 30 seconds to get it to stay in there.
Now trim and glue the final piece into the center of the flower and taa dah!
I placed mine on top of a lily pad in my pond:
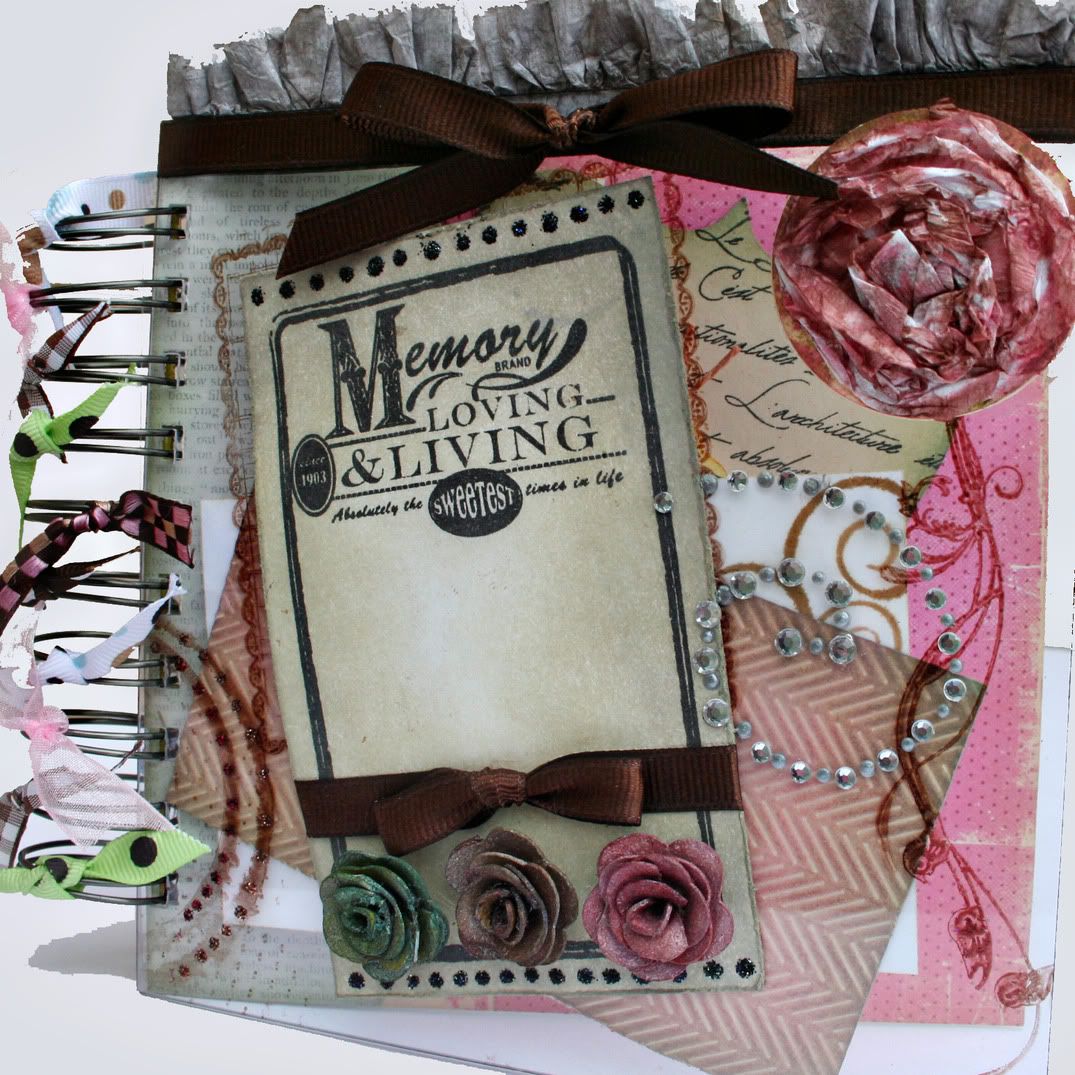
Here is the rose I made from grungepaper for the halloween class. I colored the flower with distress ink and stamped a textured stamp onto it before I started adhering everything together.